

 |
| 2 Pot Holders – Fronts and Backs |
Today, I thought I d attempt a little pot holder tutorial. This is a great way to use up odds and ends of scraps or any blocks you have lying around unused. The block in the blue/grey version (above) is from the time when I fondly imagined myself being a farmers wife…
You will need some buttons. Well you won’t need them – but I think they finish it off nicely!
And you will need a quilt sandwich the size you want your pot holder to end up (I haven’t shown this step because I didn’t decide to do a tutorial until until after I’d made one). If you use insulbrite, it’s recommended that you use a layer of cotton batting with it.
 |
| Quilt Sandwich – front and back |
You will also need a length of fabric for binding. I found a Kona Roll-Up strip was good for a sandwich up to 10″ square but a thinner fabric would have been easier to sew through at the button stage.

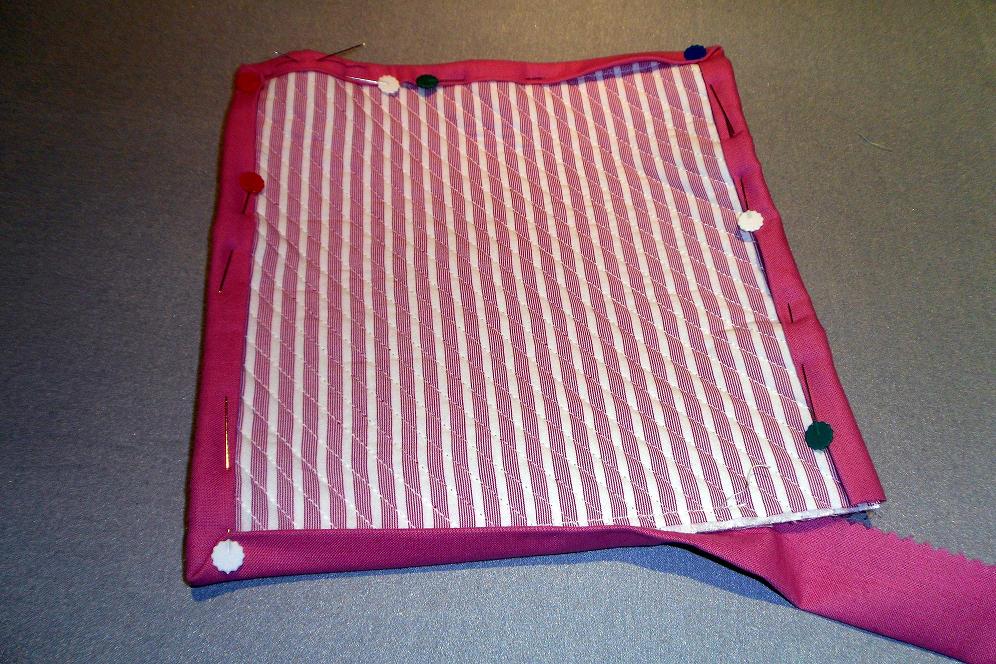
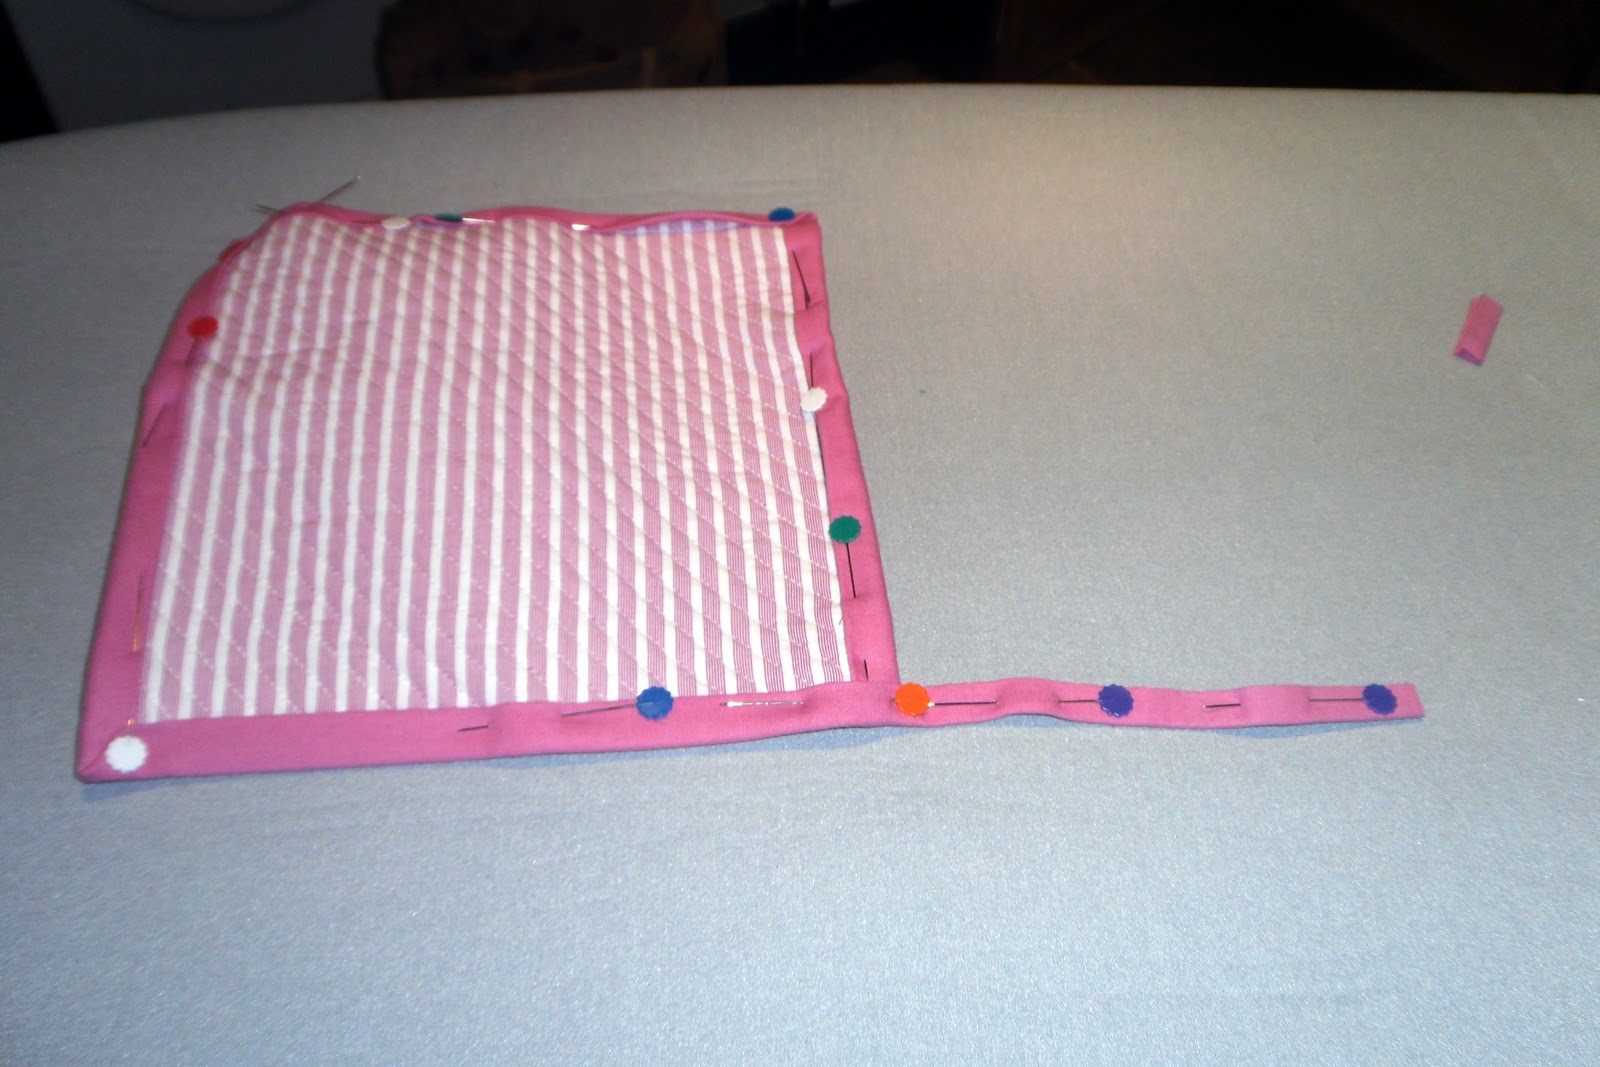
Beginning at the corner you want your pot holder to hang from, attach your binding to the front of your sandwich. For this stage I used Jenna’s Quilt Binding Tutorial which you can find at Sew Happy Geek I strongly recommend you go and see it – she has a great way of getting very neat mitred corners.
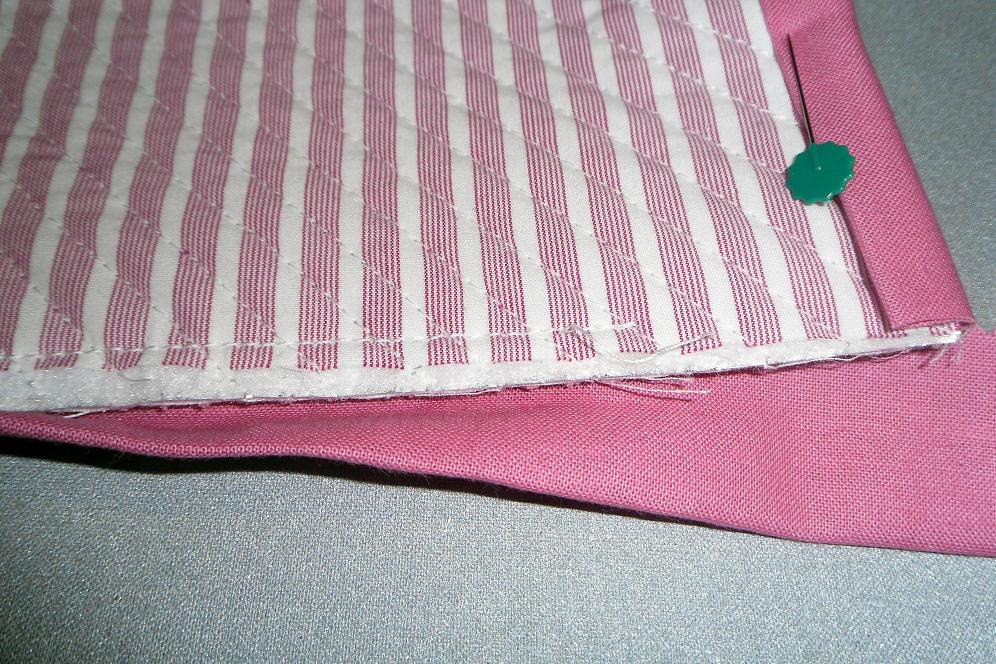
Stop sewing when you are about 1.5 inches away from where you started and backstitch.

 |
| This is what the last corner should look like |
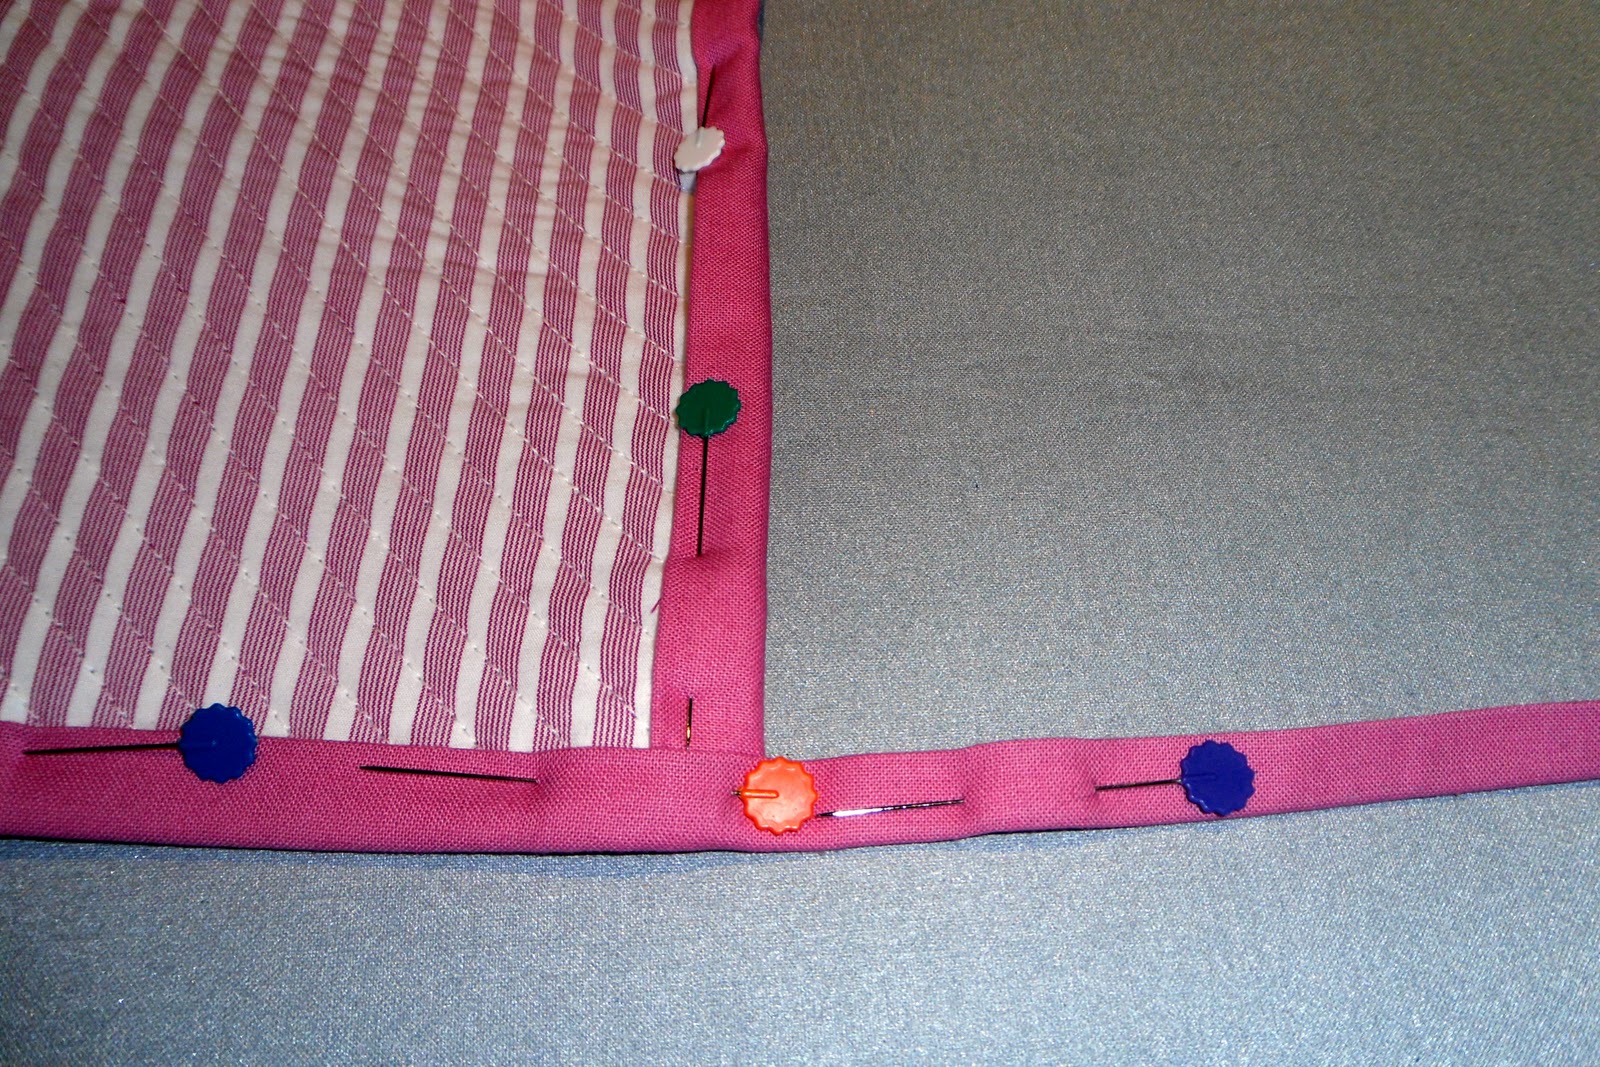
Flip your sandwich over and pin your binding from where your started stitching to the third corner.
Then gently fold back the un-pinned binding…
And flip you sandwich to reveal your partially sewn edge.
Now, finish sewing this edge.

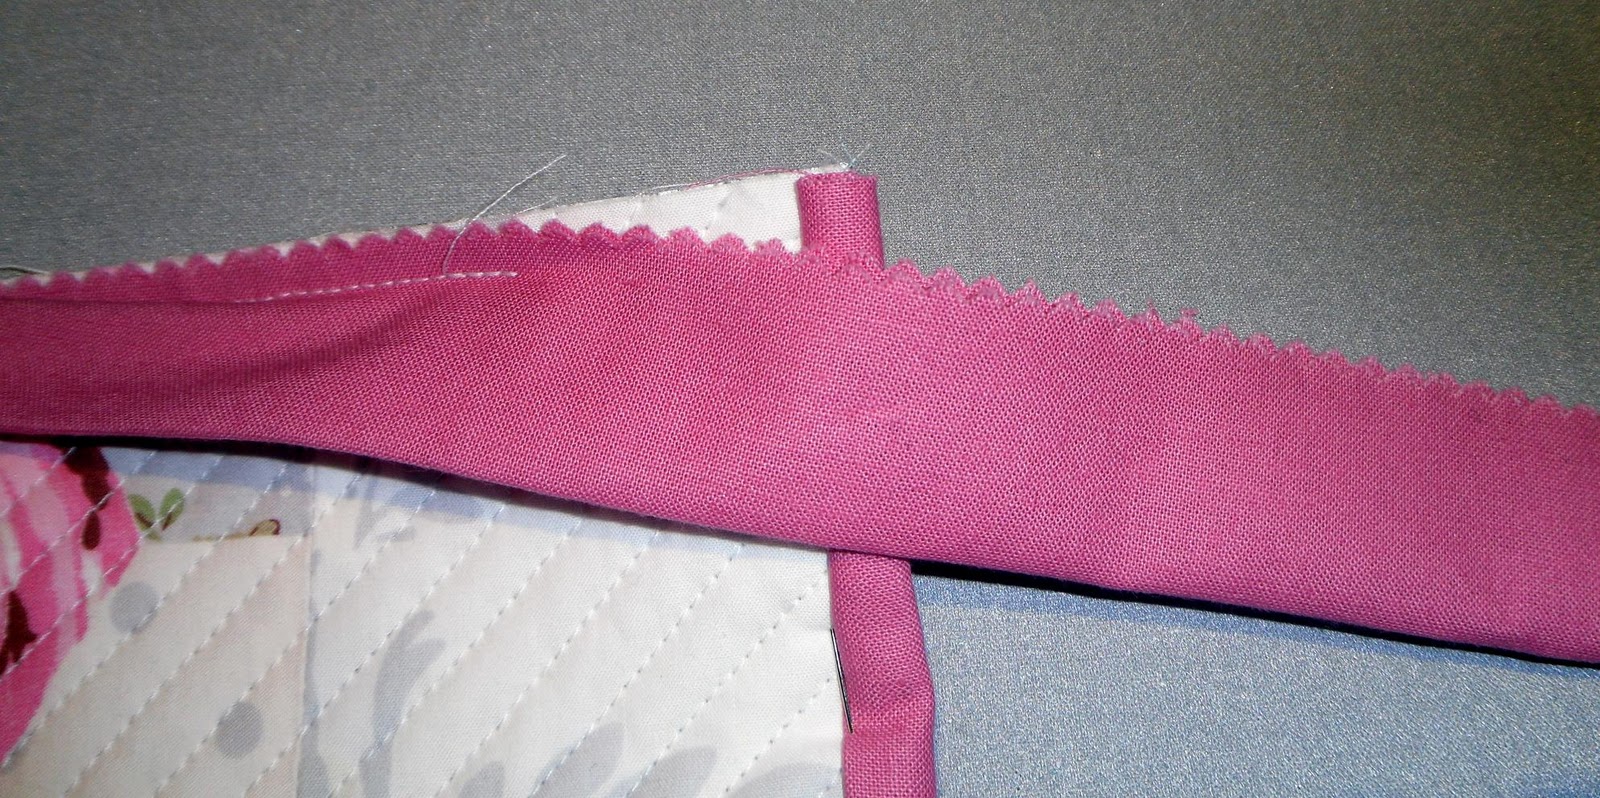
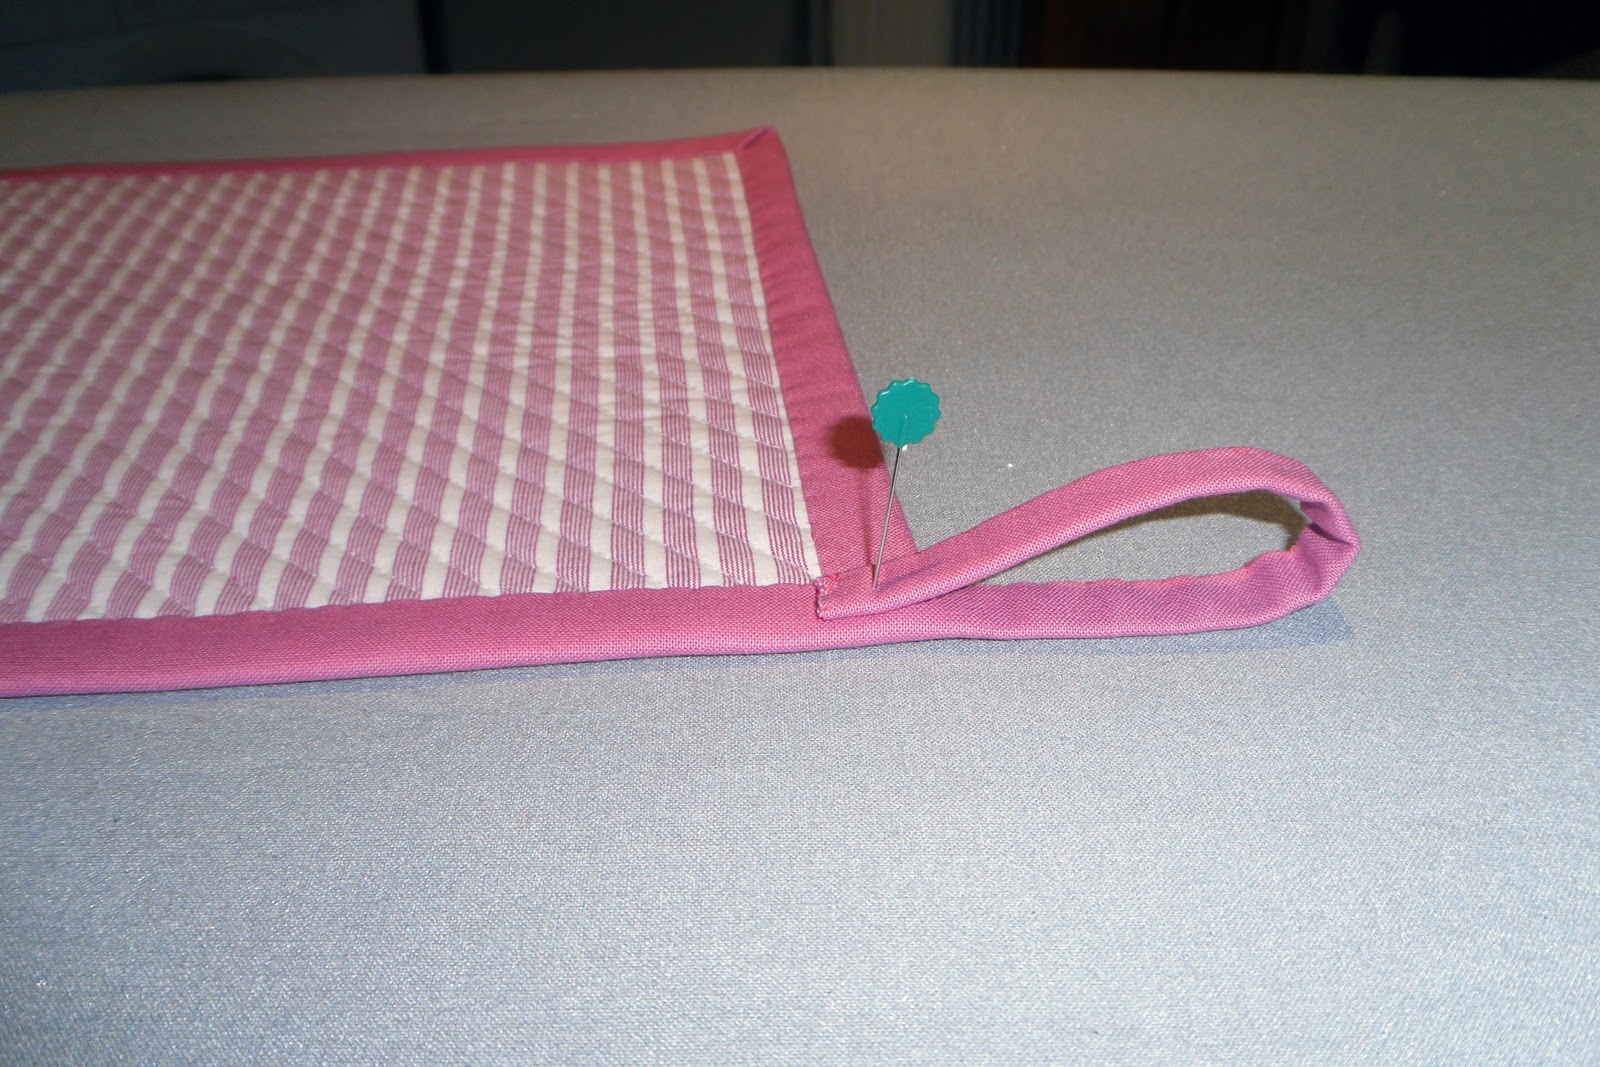
Flip your sandwich (again!) and press the raw edge of your binding towards the middle of your ‘tail’.

Now, fold the bottom edge of your binding up and press and pin it to the last edge of your sandwich and along the length of your ‘tail’.
It should now look like this…
Hand or machine sew around the entire length of you binding, cut your ‘tail’ to the length you want your hanging loop to be and over-sew the raw end.
 |
| Front and Back with binding attached |
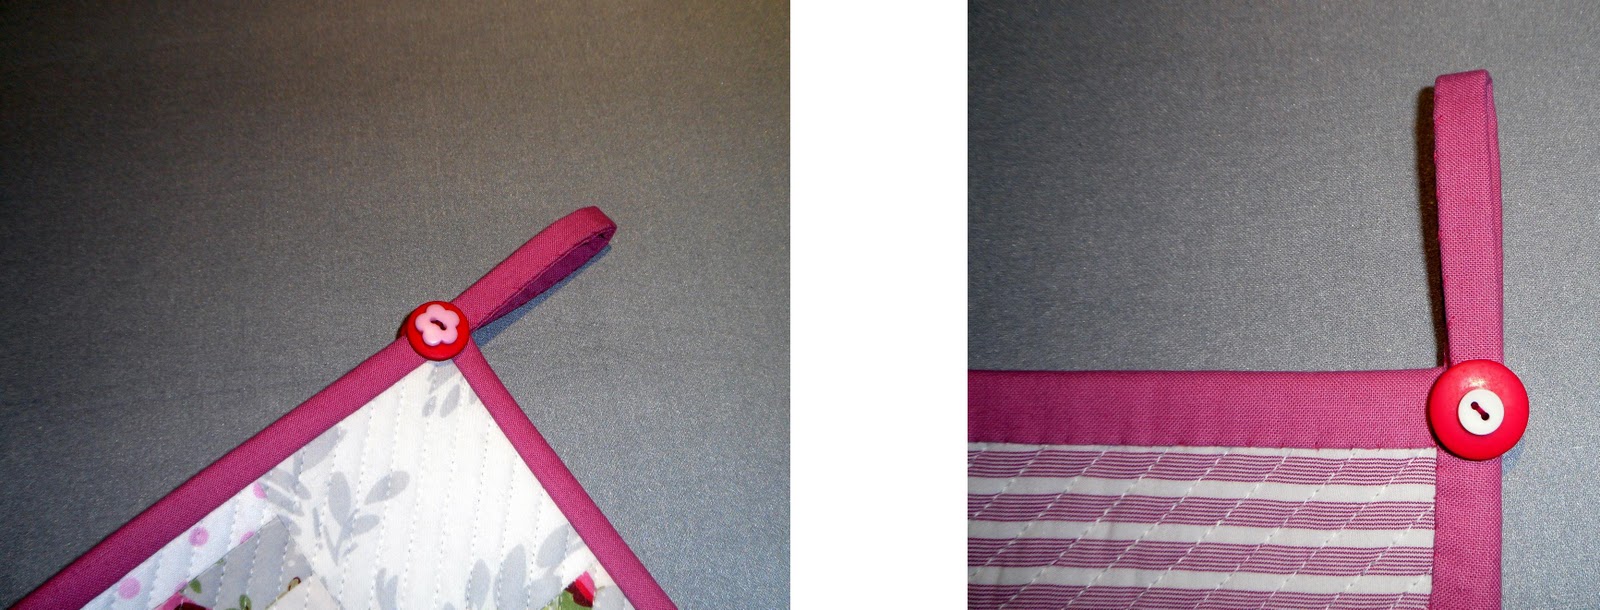
Secure your ‘tail’ to the back corner of your pot holder (I think we can start calling it a pot holder now!)
Attach some buttons to the hanging corner of your pot holder (covering the end of the binding on the back)
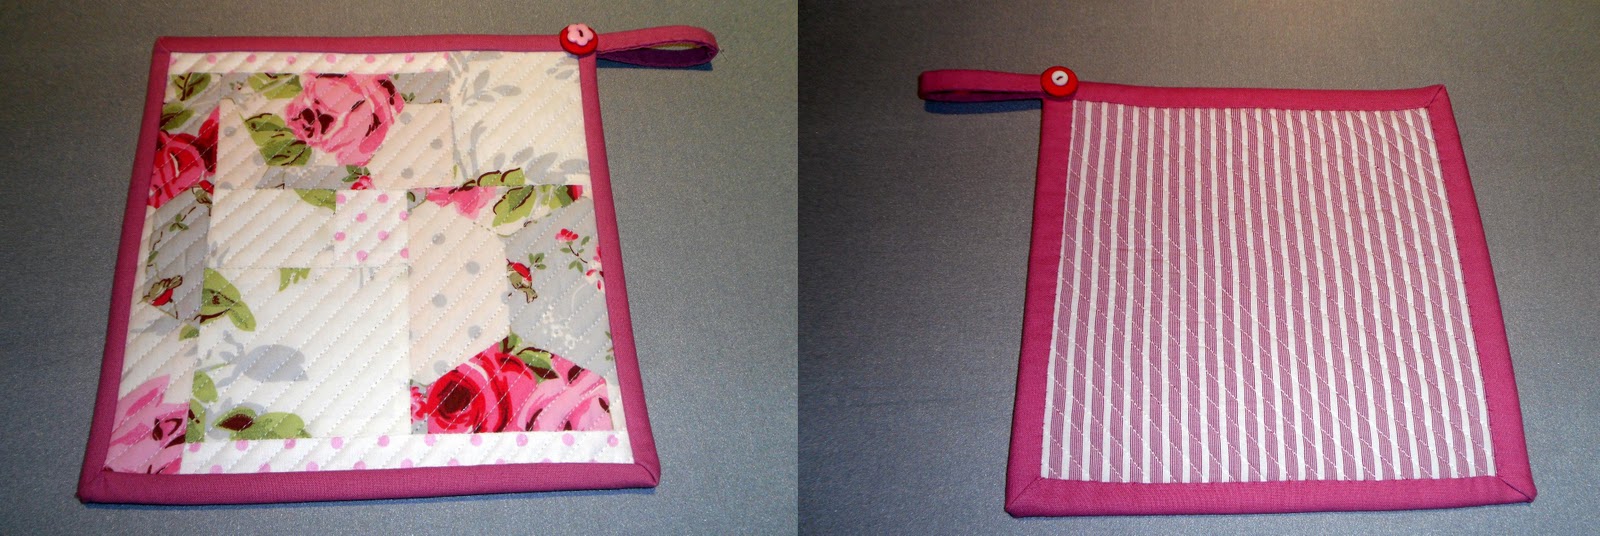
And it’s finished!
If you’ve read this far thank you for sticking with it to the end! This was my first tutorial – if I can call it that, given that I didn’t show you how to make the quilt sandwich or how to sew on the binding! I’d love to here what you think of it. Does it make sesnse? Is everything clearly explained? Is this the right number of pictures?
Here’s a final picture – just in case you were wondering who was hiding behind the pink pot holder at the beginning of the post :)

Craft Couture by T.C.
Janine – Thank you very much for a wonderful tutorial. I am thinking of making one .. this tute is perfect! :)
LikeLike
Benta At SLIKstitches
Great Tute Janine. Yes it was clear, with links and pics in the right places, and no, there was no need to include the earlier stages. I have never made a pot holder, but I would have worried about the raw edge, so the button was a brill idea. Thanks also for the tip about using cotton batting as well as the insulating stuff. 10/10 from me!
LikeLike
Archie the wonder dog
Great tutorial!
LikeLike
Lucy @ Charm About You
So cute, I love the idea of adding a button! I would never have thought of that. I love those animals too :)
LikeLike
Lucy @ Charm About You
So cute, I love the idea of adding a button! I would never have thought of that. I love those animals too :)
LikeLike