

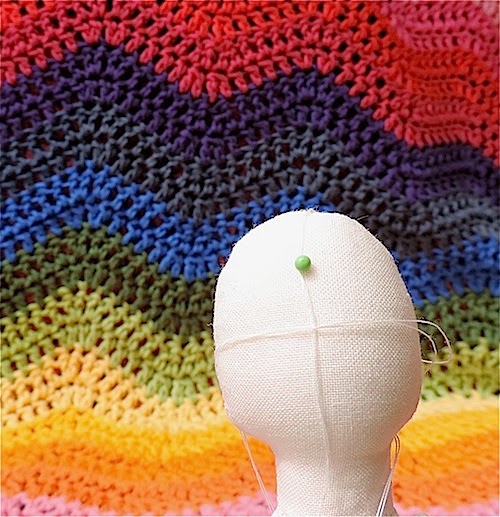
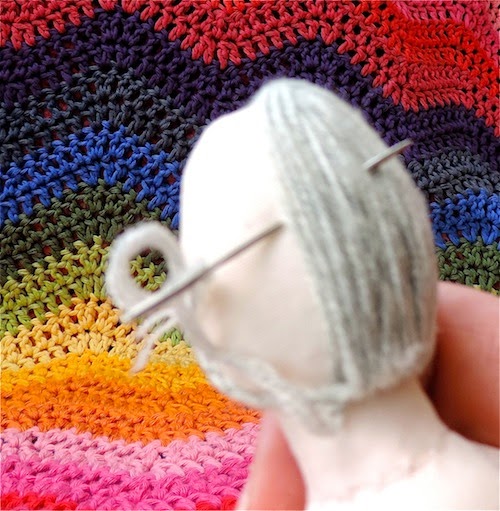
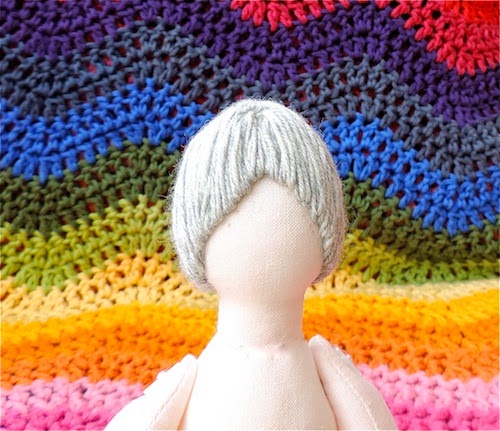
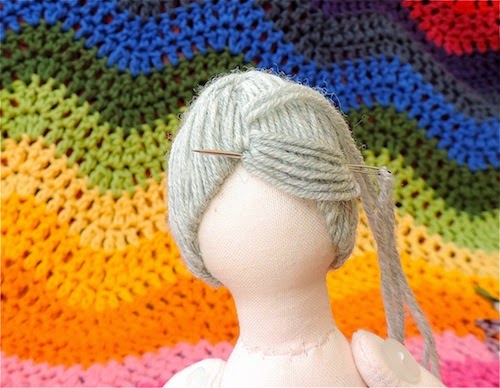
The threads mark the centre of the face (the horizontal thread is the eyeline). The pin marks centre point for hair.
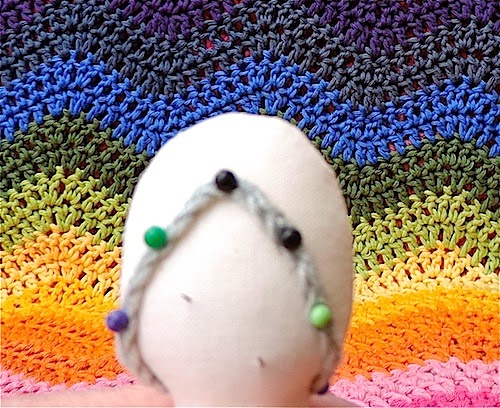
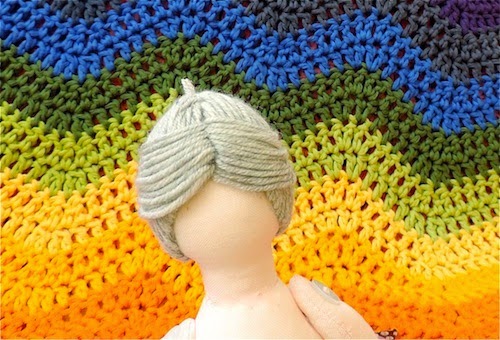
Crochet chain pinned to mark hairline (front)

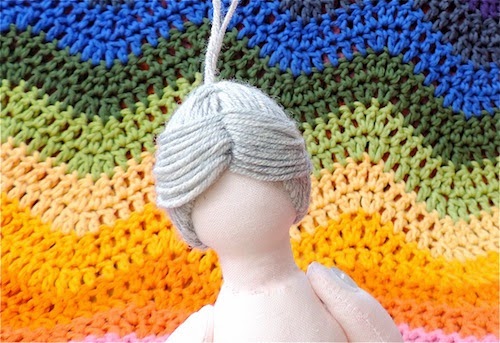
Crochet chain pinned to mark hairline (back)
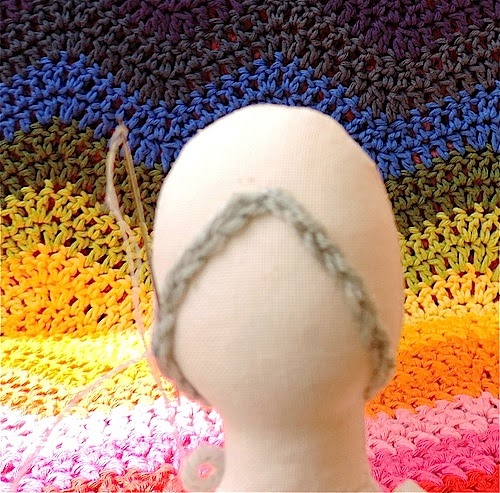
Stitch crochet chain to head

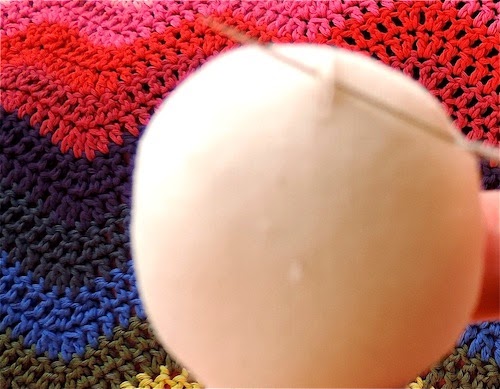
Stitch a loop under the place the bun will go with sewing thread (above but not very clear – sorry!)

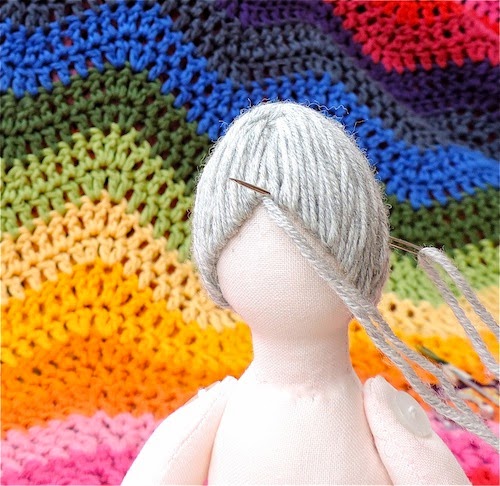
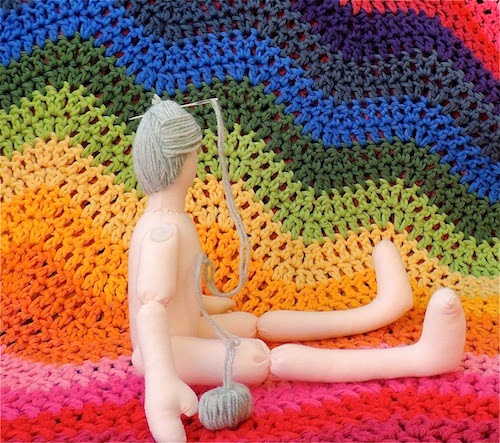
 Using a long piece of yarn, work around sides and back of head stitching through loop and crochet chain.
Bury ends of yarn in head!
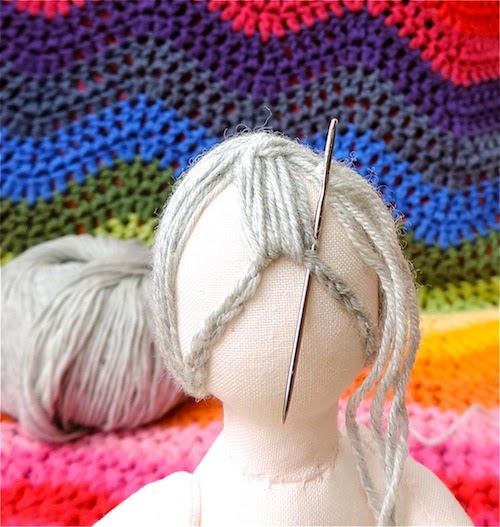
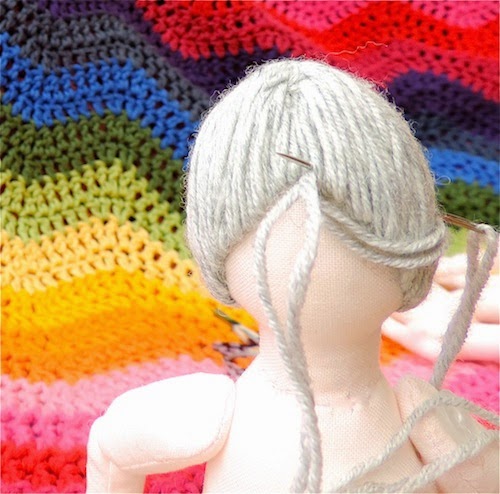
For the hair front work from side to side, passing hair through yarn on crown of head as shown, below (or make another loop if preferred).
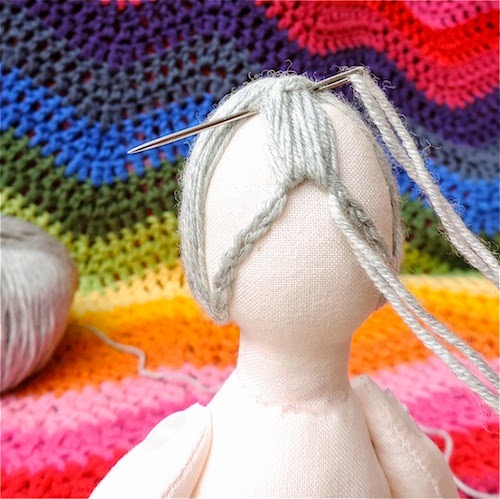
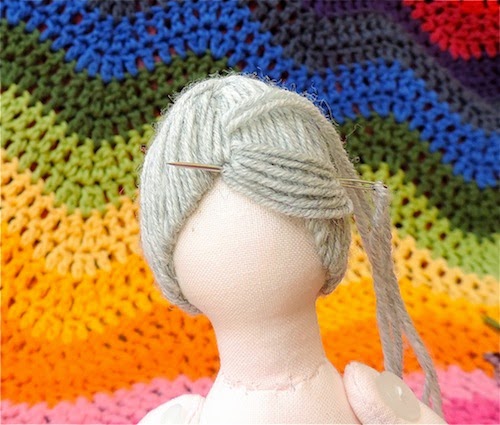
For fringe (bangs?) draw a long length of yarn through head and emerging in centre front, as shown.

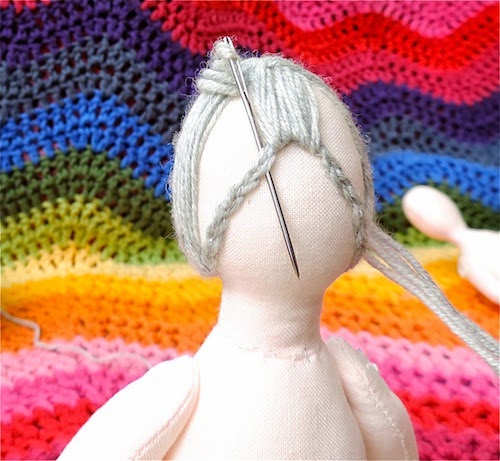
Continue working yarn as shown.

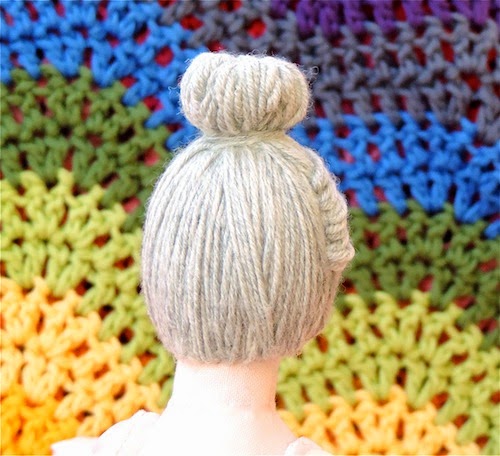
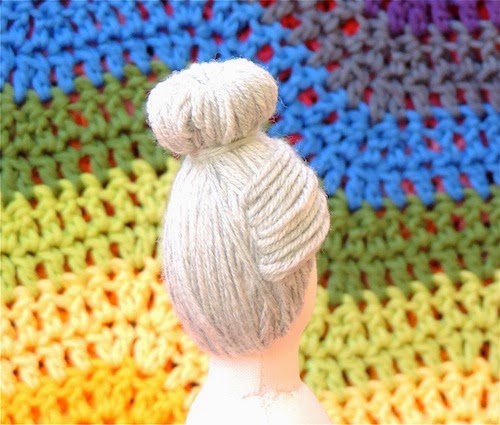
For bun, wind yarn around two pencils (or similar depending on the size of your Granny) and the bind this with a lengths of yarn as shown below.


Secure bun to Granny’s head :)


Do contact me if you have any questions…
Janine @ Rainbow Hare

A Quilter's Mission
That is just the coolest tut ever! Thanks for sharing.
LikeLike
Celtic Thistle
Amazing Janine! I love this tutorial :)
LikeLike
Claire Earley
Thank you so much for this tutorial, it's always the hair that lets me down when I knit dollies '~) Now I have a good image base to learn from Thank you. You really should publish a book Janine as many people have mentioned before, it would be a fantastic way of getting young ones to take up & learn knitting, this one could be about Granny Square going to the hairdressers '~)
LikeLike
Kim
This is the best tutorial. I would never have thought to sew a crochet chain to the head to stitch the 'hair' through….that is very clever! Gorgeous step by step photos!
LikeLike
Laura
Muito interessante a ideia foi bem concebida acho que vou conseguir fazer também
LikeLike
Carol- Beads and Birds
OMGosh! Thank you. This is really a cool tutorial. I never would have thought of doing hair this way. I'm amazed at how simple it is.
LikeLike
liniecat
What a huggy looking shawl and such a helpful, clear tutorial, thank you!
Useful for which ever size figure your making up too!
LikeLike
Soma Acharya
Fantastic tutorial! Thank you so much, Janine :)
-Soma
LikeLike
Benta AtSLIKstitches
Oh gosh – she's fab! I was given a whole load of flesh coloured knitters fabric (off cuts from the museum covering a maniquin I think?) that would probably be ideal for doll making – any good to you?
LikeLike
Vera
Great tut Janine!
LikeLike
Flashinscissors
Wow, Janine! Great tutorial! You make this look so easy!
I shall have to add this to my “to do” list!
Barbara x
LikeLike
Linda
No se mucho ingles pero no es necesario para entender el tutorial estuvo genial y muy didáctico…muchas gracias
LikeLike
maria jose
não falo inglês, mas entendi a forma de fazer o cabelo e agradeço.
muito bom! parabéns!
LikeLike
Valeska
Thanks for sharing… great tutorial, do you have others? Keep the good work!!!
LikeLike
Gersonete
Seu tutorial está perfeito. Obrigada por compartilhar conosco.
LikeLike
Mirian
Thanks so much, I loved
LikeLike
Veronica Hill
This tutorial is brilliant. Thank you for sharing. I don’t have a blog, only a page on Facebook of which is the same as the beginning of my email address.
I will definitely use this tutorial on my Tilda dolls..
LikeLike
Wanda
Amei! Não tinha nenhum conhecimento de como fazer mas o tutorial é bem claro. Grata
LikeLike